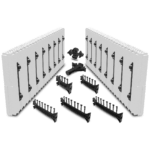
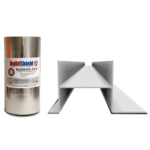
“BuildBuck ICF Door & Window Bucking creates a strong seamless insulated transition from ICF walls to door and window openings.”


BuildBuck ICF Door & Window Bucking
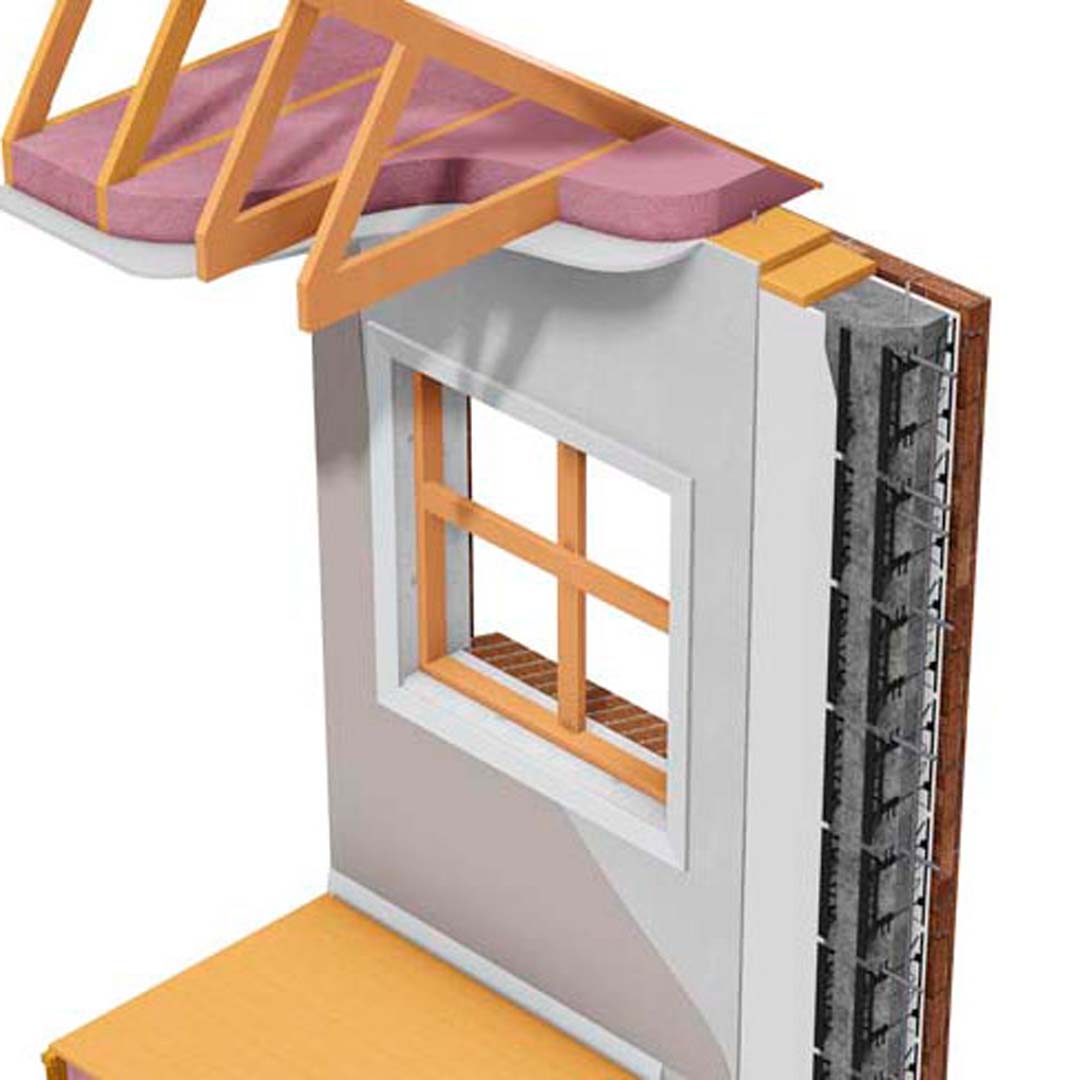
BuildBuck ICF Door & Window Bucking brings the insulation properties of EPS foam together with embedded plastic webs to create a strong seamless transition from ICF walls to door and window openings.
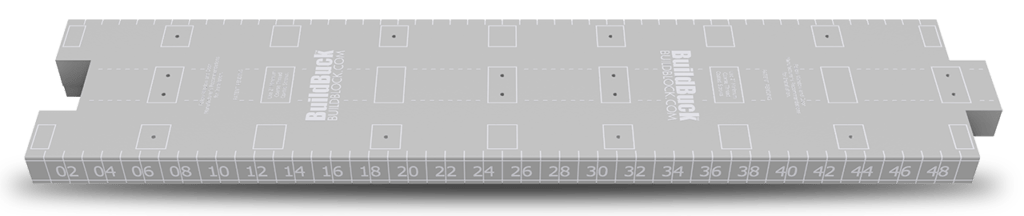
BuildBuck ICF Door & Window Bucking is an integrated ICF bucking solution for residential & commercial projects. Providing continuous insulation along the full length of the buck, BuildBuck is two-inches thick providing an insulated barrier for all openings. The buck features three primary attachment areas across the face of the buck every 6-inches in the center and on each side as well as a full-length attachment on each side. Foam guides properly align BuildBuck and the ICF blocks. A molded-in sealing member works with flashing to seal against moisture intrusion. The full length molded tape measure and cut lines make cutting the buck to size simple and straightforward.

BuildBuck Product Features
- Standard BuildBlock labor-saving benefits are included such as molded-in tape measure and cut lines.
- Indicators for attachment points and cut lines for access ports are molded-in.
- Molded alignment guides align the buck inside the ICF block.
- Full-length attachment points along each side of the buck and 8 attachment zones across the face of the buck are spaced evenly every 6-inches.
- Integrated sealing member molded in to prevent water intrusion behind flashing.
- BuildBuck has 8 anchors that mechanically securely connect the buck to the concrete.
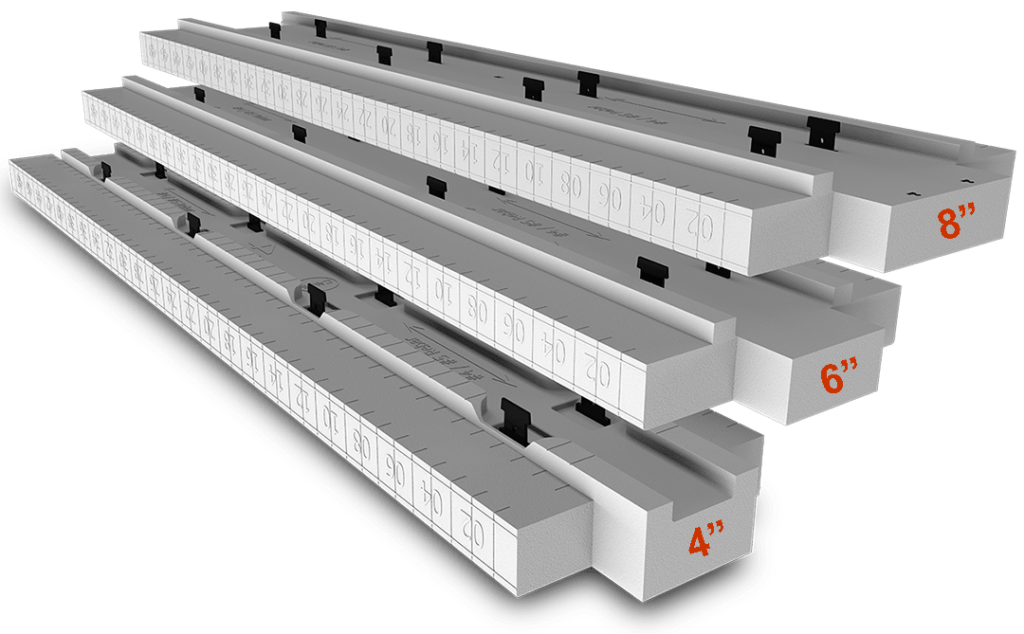
- BuildBuck is 2” thick and 52” long (48” nominal) and the longest ICF buck on the market creating a 4040 rough opening without cutting.
- Packaged in small bundles for easy ordering and fits above block bundles on trucks to eliminate most shipping.
- BuildBuck is available for all 4-inch, 6-inch & 8-inch forms.
BuildBuck Advantages
- Designed specifically for BuildBlock, BuildLock, and GlobalBlock ICF forms.
- Strong I-Beam web design mechanically anchored into concrete and foam.
- Full-length attachment across both sides of the buck for easy attachment of finishes.
- Seven (7) full size (3”x 1.5”) attachment points on the face of the buck spaced every 6 inches and 2 half-size on each end.
- Webs molded 1/2 inch below EPS foam to prevent thermal bridging and create a seamless transition from wall to opening.
- Numbered cut lines on each side of the buck for straightforward measuring and cutting.
- Designed to easily allow 8” horizontal rebar spacing in large commercial projects.
BuildBuck Door & Window Bucking Product Specifications
| PRODUCT | Length | NOMINAL LENGTH | Width | Thickness | Weight | R-value | Area | FORMS |
|---|---|---|---|---|---|---|---|---|
| BK-400 BuildBuck9in | 52in 1320.8mm | 48in 1219.2mm | 9in 228.6mm | 2in 50.8mm | 4lbs. 1.81kg | 8.4 | 3.125ft2 .3550 m2 | BB-400 | BL-400 | GB-400 |
| BK-600 BuildBuck11in | 52in 1320.8mm | 48in 1219.2mm | 11in 279.4mm | 2in 50.8mm | 4lbs. 1.81kg | 8.4 | 3.82ft2 .3550 m2 | BB-600 | BL-600 | GB-600 |
| BK-800 BuildBuck13in | 52in 1320.8mm | 48in 1219.2mm | 13in 330.2mm | 2in 50.8mm | 4.5lbs. 2.04 kg | 8.4 | 4.51ft2 .4190 m2 | BB-800 | BL-800 | GB-800 |
| NOTE: BuildBuck is compatible with all 4”, 6” & 8” ICFblocks with 2.5” thick EPS foam panels. | ||||||||
Basic BuildBuck Installation
Below is a general outline of how to install BuildBuck. Download the full installation manual for comprehensive information.
- Determine rough opening size and cut bucking with as few cuts as possible. It is generally recommended to size rough opening 1/4-inch larger than the actual window size.
- Build ICF wall as specified with required reinforcement.
- Create rough opening 4-inches larger than specified to account for BuildBuck thickness.
- Install vertical rebar in each side of the opening and attach to buck.
- Join each buck piece using the factory connections or butt them together to buck full opening. If connecting multiple pieces of buck use factory ends, create a new factory end connection by cutting the buck, or connect end to end without the interconnection. A small amount of foam adhesive may be used to join buck pieces.
- Cut and remove foam in the buck for inspection ports in the sill every 12 inches. Doing this before buck installation prevents debris from falling into the wall cavity.
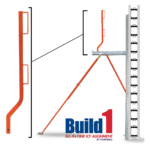
- Place buck into cut opening. When buck is in place, secure with tape, build frame, and install cross bracing. Attachment points on the face of the buck and sides can be used to attach bracing and strapping.
- Add triangle braces on opposing corners to ensure buck remains square.
- Horizontal brace should be continuous lumber. Vertical brace should be cut in two pieces resting on horizontal brace directly over each other.
- Strapping across openings tying buck and blocks together to prevent lateral movement is required across large openings and when close to corners. During pour the pressure will move to the outside.
- Vertical door and window bracing should remain in place 7-14 days after pouring to ensure concrete curing. If loading headers during framing it is recommended to leave vertical bracing in place.
- Concrete typically cures completely in 28 days.
BuildBuck with Cross Bracing

BuildBuck with Cross Bracing Removed